If your Shark vacuum isn’t picking up like it used to, a clogged or tangled roller is often the culprit. Hair, dust, and pet fur wrap around the roller brush, strangling suction and forcing the motor to work harder. The good news? Removing and cleaning your Shark vacuum roller takes about 15 minutes and requires no special skills or tools beyond what you probably have at home. This guide walks you through the exact process, so you can get your vacuum back to peak performance without calling anyone.
Table of Contents
ToggleKey Takeaways
- Shark vacuum roller removal and cleaning takes about 15 minutes and requires no special tools, making it an easy DIY maintenance task that restores suction power.
- Regular roller maintenance every 3 to 6 months prevents motor strain, extends your vacuum’s lifespan, and stops permanent bristle damage that reduces cleaning effectiveness.
- Start by unplugging your vacuum, flipping it over, and gently unclipping the access panel to access the roller’s end caps—no force needed if done correctly.
- Cut away hair tangles with scissors or a seam ripper, soak the roller in warm soapy water for 10-15 minutes, and scrub gently before fully drying to prevent electrical issues.
- A clogged roller forces your motor to work harder and shortens your vacuum’s lifespan, making monthly inspections essential to catch tangles before performance drops sharply.
Why Regular Roller Maintenance Matters For Your Shark Vacuum
A clogged roller doesn’t just reduce suction, it shortens your vacuum’s lifespan. When the brush can’t spin freely, the motor strains and overheats, wearing out bearings and seals years ahead of schedule. Manufacturers recommend cleaning the roller every 3 to 6 months, depending on foot traffic and pet hair in your home. Households with multiple pets or long-pile carpeting should aim for the shorter interval.
Regular maintenance also prevents hair wraps that can permanently damage brush bristles. Once bristles bend or break, they won’t restore dirt-agitating power even after cleaning. A quick monthly inspection, just flip the vacuum over and look, catches tangles before they become problems. You’ll notice performance drop sharply when the roller gets truly gunked up: cleaning it immediately at that point is much easier than waiting another month.
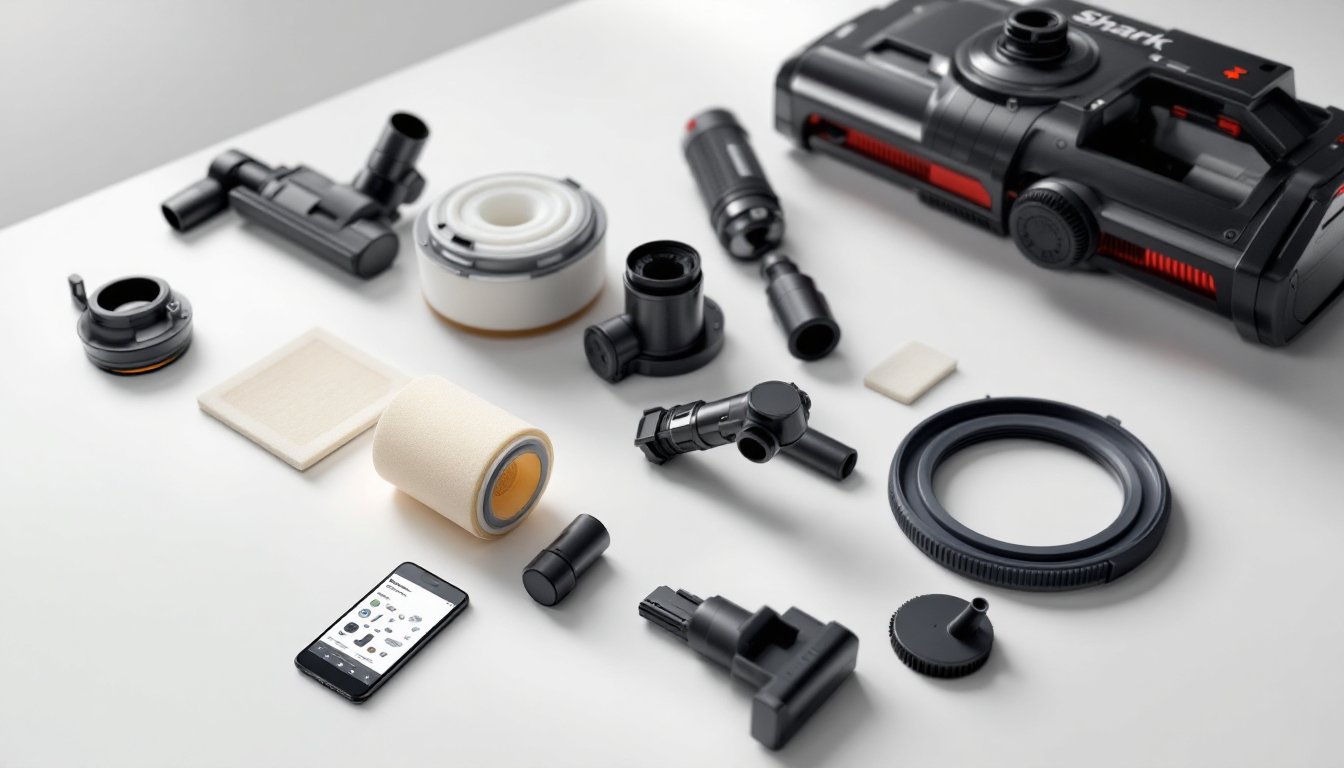
What You’ll Need Before Getting Started
Gather these items before you flip your vacuum upside down:
• Your Shark vacuum, any model with a motorized brush roll
• Scissors or a seam ripper, for cutting tangled hair (a seam ripper is gentler on bristles)
• A small flathead screwdriver or hex key, some Shark models use screws or clips to secure the roller housing
• Warm water and mild dish soap, for soaking the roller
• A soft brush or old toothbrush, for scrubbing stubborn debris
• A clean, dry towel, for drying the roller after washing
• Safety glasses (optional but smart), debris can fly when you’re pulling hair from the roller
Most Shark models don’t require tools at all, the roller access panel slides or unclips. Check your owner’s manual if you’re unsure: it’ll show you exactly how your model releases. Having everything close by means you won’t get halfway through and have to hunt for scissors.
Step-By-Step Guide To Removing Your Shark Vacuum Roller
Disconnecting Power And Accessing The Roller
Step 1: Unplug your Shark vacuum from the outlet and let it sit for 2 minutes. This clears the motor and lets static discharge dissipate, reducing the risk of accidental activation or static damage to electronic components.
Step 2: Flip the vacuum upside down on a flat surface so you can see the roller brush. If your model has a motorized floor head, you may need to detach it first by sliding or pressing a release button (check your manual). Place the vacuum on an old newspaper or towel to catch dust and hair as you work.
Step 3: Locate the roller access panel. Most Shark uprights have a clear plastic panel on the underside that shows the roller. You’ll see a latch, clip, or locking tabs. Gently press or slide these toward the center of the unit until the panel clicks free. Some models have a single screw holding the panel, use your screwdriver to remove it. Don’t force anything: if it won’t budge, you may be pulling the wrong direction.
Unclipping And Removing The Roller Brush
Step 4: Identify the roller’s end caps. On both sides of the roller, you’ll see small plastic caps or clips. These hold the roller in place and allow it to spin. Press inward on these caps or flip them open (depending on your model) to release the roller from its shaft. The roller should slide out horizontally. If it feels stuck, recheck that the caps are fully released, don’t yank it.
Step 5: Slide the roller out completely. Once both end caps are free, gently pull the roller toward you. It may be heavier than expected because of matted hair and dust, so support it as it comes out. Set it aside on your work surface: you’re ready to clean.
Cleaning And Maintaining Your Roller For Optimal Performance
Now that the roller is out, you can see exactly how much debris it’s collected. Hair typically winds in tight spirals around the bristles, and dust cakes into the base. Don’t worry, it all comes off.
Step 1: Remove large hair tangles. Using your scissors or seam ripper, carefully cut away hair wrapped around the roller. Work along the length, cutting underneath the tangles rather than against the bristles so you don’t bend them. Pull the loose hair away as you go. This step sounds tedious but usually takes just 3 to 5 minutes: removing hair now prevents it from scattering when you soak the roller.
Step 2: Soak the roller in warm water. Fill a bathtub, large bucket, or sink with 4 to 6 inches of warm water and add two squirts of mild dish soap (the kind you use for hand dishes, not dishwasher detergent, that’s too harsh). Submerge the roller and let it soak for 10 to 15 minutes. This loosens dust, pet dander, and stuck-on debris. If the water turns noticeably gray or brown, your roller definitely needed this.
Step 3: Scrub the bristles and base. Using your soft brush or old toothbrush, gently scrub the bristles in multiple directions. Pay special attention to the base where the bristles meet the plastic core, debris loves hiding there. Rinse the roller under running water as you scrub, flushing away loosened gunk. You may need to soak it a second time if it’s been a while since the last cleaning.
Step 4: Dry the roller completely. Pat it dry with a clean towel and stand it upright to air-dry for at least 1 to 2 hours before reinstalling. Moisture left on the roller or in the motor chamber can cause electrical issues. Patience here prevents costly repairs later.
Step 5: Reinstall the roller. Once dry, slide the roller back into its shaft, making sure both end caps click or lock firmly into place. Replace the access panel by aligning the tabs or clips and pushing until you hear a click. If your panel was screwed, tighten it snugly but don’t over-torque, plastic can crack.
Flip your vacuum upright, plug it in, and test it on a small area. You should notice an immediate improvement in suction and a quieter motor. Real Simple offers practical cleaning tips that cover vacuum maintenance as part of a broader home care routine. For deeper dives into appliance care, Good Housekeeping reviews and tests vacuums with guidance on upkeep to extend lifespan. If you want technical specs or comparisons of Shark models, CNET provides thorough vacuum reviews with hands-on testing.
Conclusion
Cleaning your Shark vacuum roller is a simple maintenance task that pays dividends in performance and longevity. Mark your calendar to do this every three to six months, depending on your home’s conditions. A few minutes of preventive care now beats a dead vacuum and a repair bill later. Keep your floors clean and your vacuum running strong.